I've decided to make learning the stitches fun by incorporating the learning into a pattern for a Cool Weather Scarf. This pattern is quick and simple and is the perfect pattern for learning the basic stitches. I will include the pattern, followed by photos demonstrating the stitches while I work the scarf pattern as well as how to finish and trim the edges of the scarf. Good luck with your first pattern. I would love comments telling me how it went for you.
Cool Weather Scarf
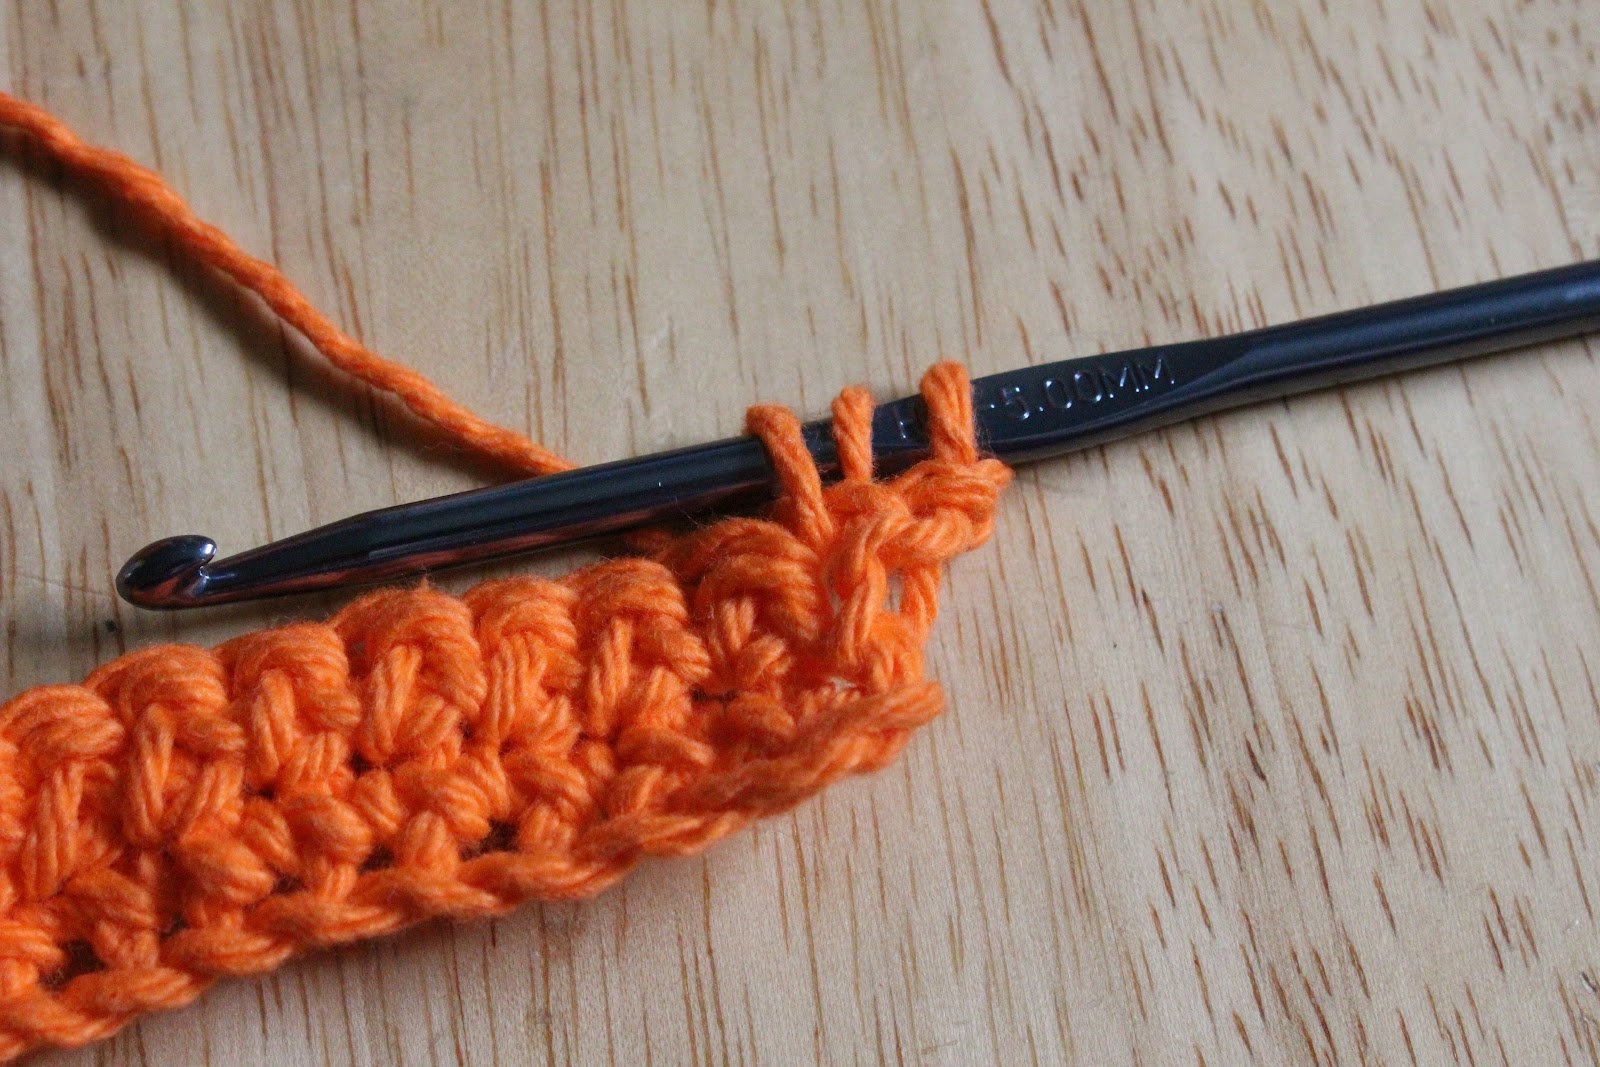
Size H/8 - 5.00MM Crochet hook
1 skein worsted weight cotton yarn in your choice of color
Instructions:
Leaving a 3" tail at the start, Ch 16
Sc in 2nd Ch from hook and in each Ch across (15 sc)
Ch 1, turn and sc in each sc across (15 sc)
*Ch 2, turn and dc in each sc across (15 dc)
Ch 2, turn and dc in each dc across (15 dc)
Ch 1, turn and sc in each dc across (15 dc)
Ch 1, turn and sc in each sc across (15 dc) *
Repeat from * to * until your scarfs reaches desired length.
Fasten off leafing 3" tail.
Cut 30 6" pieces of yarn. For each stitch across each end, fold 1 piece of yarn in half and insert the looped end through both loops of 1 sc. Thread the cut ends through the loop and pull tight. (At each end, make sure you pull the left over 3" tail through the loop as well before you pull the yarn tight. This will hide your start and finish tails in your fringe.) After you have done this for each stitch across each end of your scarf, lay flat and trim fringe to desired length.
So, I wanted to have a few videos here showing you how to do each of these stitches, but for some reason, I cannot get them to upload. I'll work on getting that fixed, but for now, pictures are going to have to do.

For this project, you will need a skein of cotton yarn in the color of your choice, a pair of scissors, and your size H crochet hook.

When I was first learning as a child, this is how I was taught you hold your yarn while you crochet. Some people hold their's differently so go with what you are comfortable with. This is how you will see me hold mine because it keeps the yarn where you need it and the rest of it out of the way at the same time. Starting on the palm side of your hand, wrap the yarn around your little finger counter clockwise. After pulling the yarn back to the palm side of your hand, wrap around the back of your index finger and hold yarn end between your thumb and middle finger.


You want to start with a slip knot on your hook. You can do this by making a loop in your yarn, holding the loop together between your thumb and middle finger, and using your hook to pull a loop of yarn through the first loop. Pull tight and you should have a nice slipknot to start with. You want to start with a slip knot because you can pull it to adjust it's size if you need to and also because if you make a mistake or if you don't like how your project is turning out, you can simply remove your hook and pull the yarn to take it out and not waste any yarn.

This is how you start any stitch in crochet. Most patterns will refer to this as a YO (yarn over). When holding your yarn the way I showed before, you twist the hook so that it goes under the yarn and grabs it like this.

This is your first Ch (chain) To do this, you YO and pull the yarn you grabbed through your slipknot. This is the most basic stitch in crochet and you will use it in every crochet pattern you come across.

This is what it looks like when you do several chains all together. You want it to be a nice middle ground between loose and tight. This may take some practice as most people will either crochet too tight or too loose to begin with, it just depends on the person. It takes practice to learn the correct tension for your yarn. Many patterns will refer to this as the base chain because it often makes up the base of your pattern. As you can see, the chain is made up as a series of V's. Each set of V's is one chain. When doing the next row, you will only go through the top part of the V.

Now we are going to do the first sc (single crochet) To start, you insert the hook into the top loop of the second chain from your hook. If you look close in the photo, between the two loops on the hook, you can see the first ch that is skipped. Once you have your hook inserted, YO and pull a loop of yarn back through the ch. Now you should have two loops on your hook just like the picture above.

YO and pull a loop of yarn through both loops on your hook. This is how you single crochet. All together, you insert your hook into the second ch from your hook, YO, pull the loop through the ch, YO and pull the yarn through both loops on your hook.

You will do this same stitch all the way back down your chain, inserting your hook in the top loop of each remaining chain.

Now you have to start the second row. To do this, you ch 1 and then turn the whole thing to the left. Now you will be looking at the back side of the row you just finished and you will have lined the stitches up so that you can now work across the top of the previous row.

When doing the next row, look at the top of the previous row and you will see the same V's the chain made. This time, instead of going through only one loop, you will go under both sides of the V. Some patterns you come across will tell you to only go under one or the other, this creates a texture that we will go over in another project.

Now that you have finished your first two rows of sc, we are going to do a row of dc (double crochet) To start this row, you ch 2 (this chain at the beginning of the row is to bring your yarn up to the height of the stitch you are doing. ch 1 for sc and ch 2 for dc) turn the project to the left so you see the back side of the previous row.

To start the dc, you are going to YO BEFORE you insert your hook into the first sc of the previous row.
After inserting your hook through the first sc of the row before, YO and pull a loop back through the stitch. Now you will have three loops on your hook just like the picture above.

YO and pull the yarn through the first 2 loops on your hook. Now you will have 2 loops left on your hook just like the picture above.

YO and pull the yarn through both loops on your hook. This is how you dc. All together, you YO, insert your hook into the sc of the row before, YO and pull the yarn back through the stitch, YO and pull yarn through the first 2 loops on your hook, YO and pull the yarn through the last two loops on your hook.

Dc all the way across to finish your dc row.

This picture shows a small sample of the pattern you will be doing. As you can, startign at the bottom, there are two rows of sc, a row of dc, and two rows of sc. This is a very simple way to add a pattern to your scarf without doing anything too difficult. These three stitches make up about 90% of the stitches you will use in crochet. There are others, but for the most part, you will be using these three or a variation of one or more of them.

To finish this scarf, ch 1 and cut your yarn about 3" from your hook.

Use your hook to pull the loop until the cut end pulls free. Pull the yarn until the ch 1 pulls tight.

The pattern calls for you to cut 30 6" pieces of yarn. To make the fringe at the ends of the scarf, fold each piece in half so that there is a loop at one end like in the picture above.

Insert you hook through one stitch in your last/first row of your scarf.

Use your hook to pull the loop end of your yarn piece through the stitch.

Pull the cut ends of the piece of your yarn through the loop. For the tails of yarn from starting and finishing, make sure that you pull them through the loop of the piece of fringe closest to them.

Pull the thread tight so that the loop closes around the yarn and holds it tight to create the fringe at the ends of your scarf. You can either leave the fringe long, or lay the scarf flat and use your scissors to cut it to a shorter length.
You can also finish this scarf another way if you do not like fringe. Simply use a plastic, blunted yarn needle to pull the tail ends back down through the sc row. If you look at the row from the side, you will see a series of upright V's. The needle will slip easily through these. Pull the yarn through, pull it a little tight, cut it, and then flatten the row to hide the end.
I hope you found these instructions easy to follow. Please leave comments to let me know how easy it was to follow.
Enjoy working on this Cool Weather Scarf. My next post will be a pattern for how to make this really awesome coffee mug cozy.

No comments:
Post a Comment